Handmade art is unique and gives a special touch because it gives a meaning to simple materials. String Art is one such creative craft where colourful strings are tied around nails in interesting patterns, shapes, names and even portraits. Anyone can create an attractive piece of artwork with a wooden board, a few simple supplies, and some patience.
From crafting a new DIY project to adding a splash of creativity to an empty wall or crafting a heartfelt handmade gift, string art on wood is an excellent project to begin with. It's simple to follow, is highly creative, and doesn't need any complex artistry.
What Is String Art?
String art is a craft that involves creating patterns with threads and nails on a solid surface. A set of small nails or pins are placed around the outline of a design, and the threads are wound in a specific pattern around the nails or pins to form the shape and pattern.
The simplicity is the beauty of string art. Patterns, hearts, flowers, initials, animals, and elaborate portraits can be made with a few strands of thread.
Wood is one of the most common bases for this craft as it is a hard surface to hold nails in. It also brings the art to a warm and natural look. Depending on the colours, patterns, and finishing techniques you choose, a simple wooden board can become an attractive piece of string wall art.
Materials Required to Make String Art on Wood
Before you start your project, collect your materials. Many of these supplies can be found at craft stores or online.
1. Wooden Board: Smooth wooden board, plywood sheet or wooden plaque. Be sure it is thick enough to keep small nails in place.
2. Embroidery Hoop or Frame: Use a embroidery hoop or frame. Use various colors to add depth and interest.
3. Small nails or pins: These will be used to create the outline of your design. Use nails of the same size for a neat finished product.
4. Hammer: A little hammer is helpful for making careful nail holes in a piece of wood.
5. Printed Design or Template: Beginners may use printed out outlines of a heart, star, flower, letter or simple geometric shape to guide them.
6. Pencil and Ruler: These are used to draw the design and keep the nails at the proper distance.
7. Scissors: Cut the thread to split and to trim loose ends.
8. Clear Wood Finish or Paint: You can use optional wood stain or paint to finish the base and preserve the finished artwork.
It's easier to get started and focus on the design with everything in place.
How to Make Beautiful String Art on Wood: Step-by-Step Guide
Wooden string art is easier to make if you break it up into smaller steps. Begin with a basic pattern and work up to more complex ones.
Step 1: Choose Your Design
The first thing that you need to do is pick a design that suits your level of ability. Simple shapes like hearts, stars, circles, flowers, or initials are the ones to begin with for the beginners.
String art patterns are available online to print or create your own pattern on paper. Take care that the design fits into the size of your wooden board.
A heart shape is a good first pattern to try as it has a simple outline and allows you to experiment with various colours of thread.
Step 2: Prepare the Wooden Base
Select a wooden board that is smooth and sand off any rough edges. Remove dust before proceeding.
You can leave the wood in its natural shade for a rustic appearance or paint it in a colour that complements your chosen thread. White, pastel, black, and natural wood finishes are popular choices. Let the paint or finish dry before doing the next step.
Step 3: Transfer the Design to the Wood
Place your printed template on the wooden board and secure it with tape. Use a pencil to mark the outline or keep the paper in place while positioning the nails.
For beginners, using a paper template makes it easier to maintain the shape and proportions of the design.
Step 4: Place the Nails Along the Outline
Carefully hammer small nails into the marked positions along the design. Keep all the nails spaced out evenly for a harmonious look.
Don't drive them too far. Allow sufficient nail head length to leave to wrap the thread around comfortably. Have uniform nail heights throughout the pattern. When nailing is completed, slowly pull out the paper template.
Step 5: Start Wrapping the Thread
Securely wrap one end of the thread around a nail. Start wrapping it around the nails in your selected pattern.
A simple sequence can be followed, from nail to nail throughout the design. For more intricate results, experiment with criss-cross patterns and overlapping thread lines. Do not pull it too tight, since it can cause damage to the thread or loosen the nails.
Step 6: Fill the Design with Colours
Wrap the thread until the desired areas are covered. Single color can be used for a minimal style, or several different colors can be used to create contrast.
A flower can have colors of yellow, green and purple, for instance, and a heart can be filled with red and pink threads. Use varying layers of thread with different directions to add dimension and depth to the artwork.
Step 7: Secure the Thread and Finish the Artwork
Once the design is complete, tie the loose end securely around one of the nails. Cut off excess thread neatly. Look for loose threads, uneven spacing, or exposed areas that require more thread.
Finally, glue hanging hardware to the back of the wood board, if you want to hang it on a wall. Now you have your own string art!
Creative String Art Designs to Try on Wood
After learning the basic technique, you can try out patterns and styles. These are some fun concepts to consider.
1. Heart-Shaped String Art
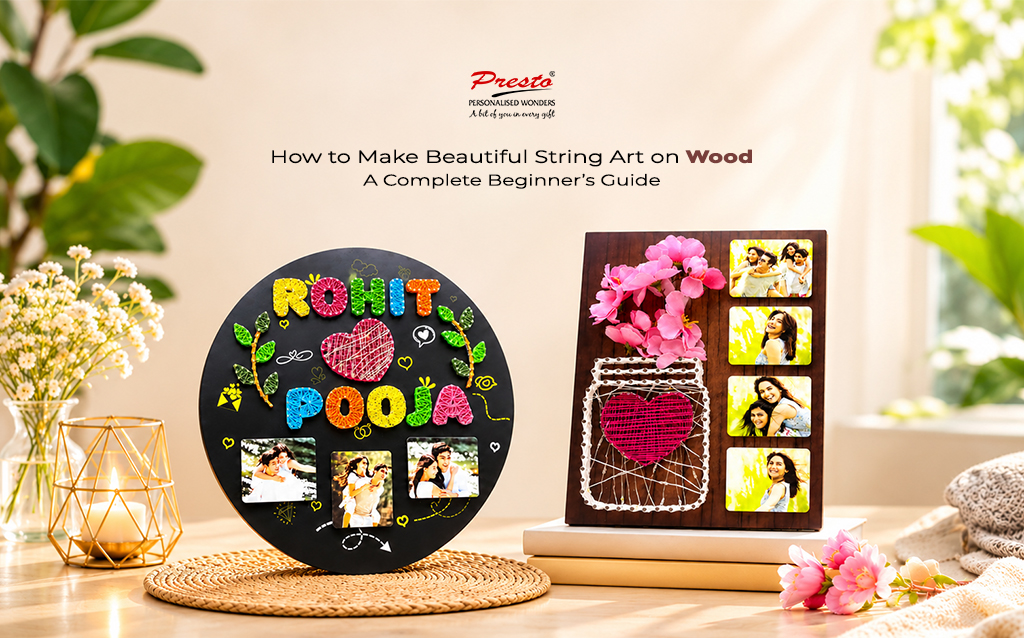
It is easier for beginners to choose a heart design. Create a romantic pattern with red, pink, or white threads. The designs are perfect for anniversary decorations, wedding gifts or beautiful gifts for couples.
2. Circle String Art
Circle string art is great for playing around with geometric patterns. Place nails in a circle and tie them together with threads in various patterns.
Starburst effects, overlapping curves, and symmetrical designs can be created. Contrasting colors will create an attractive pattern when combined.
3. Name and Initial String Art
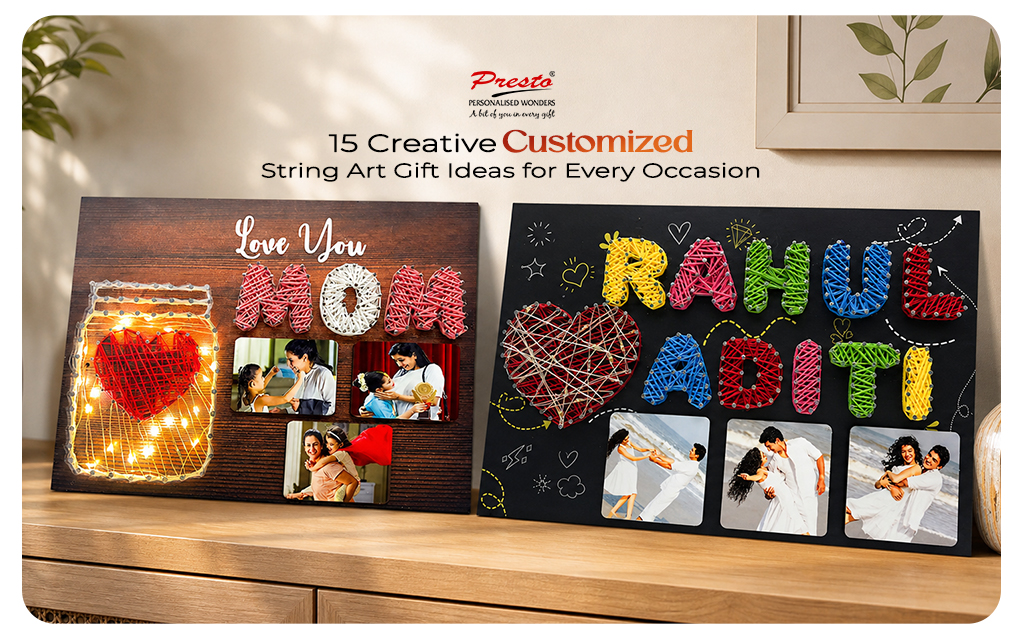
Personalised names and initials make string art more meaningful. Use coloured threads to make individual letters, initials for a couple or family names.
These patterns are perfect for bedroom decor, individualised wall displays, and special event gifts.
4. Floral String Art
Another beautiful item for wooden thread art is flowers. Try creating roses, sunflowers, or simple abstract floral patterns.
Make the leaves green and petals of different colors. Use a floral design in the living room, study space, or walls in the bedroom to brighten the room.
5. Geometric String Art
Geometric patterns are a good choice for modern home decor. Interesting effect can be achieved with triangles, diamonds, stars and abstract symmetrical designs.
These patterns are particularly appealing against dark wooden backgrounds with white, gold or pastel threads.
6. Photo-Inspired String Art
If you'd like a more advanced project, try to create a design from photographs using thread. Carefully planned nail placements and directions of the thread can be used to recreate portraits, couple illustrations and family silhouettes.
A string art photo frame when designed well can be a memorable keepsake for decorating.
Tips to Make Your Wooden String Art Look Professional
There are some simple methods that can enhance the look of your completed work.
-
Use simple patterns: do not start out with intricate designs or portraits until they are comfortable with basic wrapping.
-
Evenly spaced nails: Keeps the nails evenly distributed and creates a balanced pattern.
-
Use complementary colors: Select colors that go well together and match the wooden background color.
-
Keep thread tight but not over tight.
-
Employ good materials: Your artwork stays in shape with quality threads and strong nails.
-
Define the pattern: A well-defined thread sequence ensures there are no overlapping threads or irregular pattern sections.
-
Maintain a clean wooden base: Clean and remove pencil marks before finishing the artwork.
Most importantly, don't get discouraged if the first time you do it is not perfect. String art is a creative activity and as you make more art you get more control and technique.
How to Use String Art for Home Decor and Personalised Gifts
Personalised string art designs can also be created for birthdays, anniversaries, weddings, house warming parties, and Mother's Day.
If you're into handmade gift-making but are looking for designer touches as well, here are a few interesting options to try with Presto Gifts:
-
Handmade String Art Frames for Couples: A thoughtful decorative option for celebrating relationships and special memories.
-
Custom Name String Art Frame for Couple Photos: Combines personal names and couple photographs to create a meaningful keepsake.
-
Personalized String Art for Mom: A heartfelt gifting idea for Mother's Day, birthdays, or simply expressing appreciation.
-
Hand-Crafted String Art Frame: A decorative choice for people who appreciate the charm of handmade artwork.
Common Mistakes Beginners Should Avoid
String art is a relatively simple craft, but there are some frequent errors that can impact the success of the project.
-
Uneven Nail Placement: If nails aren't spaced evenly, it can create a feeling of imbalance in the design. Keep spaces even using a ruler or printed template.
-
Weak Thread: Thin or low quality thread can break when wrapping. Choose durable thread suitable for your design.
-
Tension too tight: Excessive tension may loosen nails or damage wooden base. Maintain steady, moderate tension.
-
Overshooting by selecting Complicated Designs too early: These patterns are more complex and need more time and planning. Practice simple shapes first, then try more complex designs.
-
Ignoring the Background: The wooden surface contributes significantly to the final appearance. Select a finish color that matches with the colors of the thread.
Create Something Meaningful with the Art of Threads
Make thread art on wood as a quiet craft project, an interior design idea or as a homemade gift - each design provides a chance to share your imagination.
But if you want to create a meaningful gift without doing it yourself, personalised products from Presto Gifts provide ideas for various situations and relationships